
Imagine stepping into your craft room and feeling an overwhelming sense of peace rather than chaos. Sounds too good to be true? But with a little effort and some clever organization strategies, you can transform that crafting disaster zone into a pristine creative sanctuary. Seriously, your paintbrushes will thank you. In this text, we’ll jump into organizing ideas that are not just practical but also fun. Who knew sorting supplies could feel like a treasure hunt? Let’s get started.
The Importance Of An Organized Craft Room
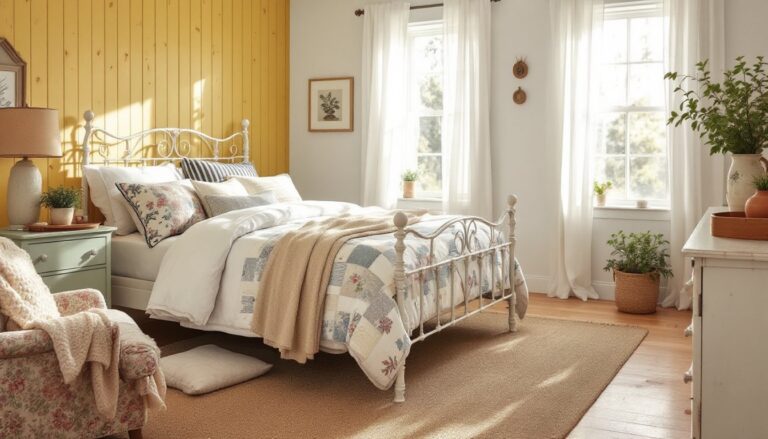
An organized craft room can change everything about your creative process. When clutter reigns, inspiration often struggles to find its way through the chaos. Think about it: having paints, fabrics, and tools all fighting for space can lead to frustration and messy projects. By organizing your craft area, not only do you reduce stress, but you also boost productivity. A neat space allows crafters to locate supplies quickly, improves focus, and actually enhances creativity. Plus, let’s be real, who doesn’t enjoy a beautifully arranged workspace that’s Instagram-worthy?
So whether you’re a scrapbooker, a painter, or a DIY enthusiast, making organization a priority is an investment in your craft. It’s about creating an environment that fuels creativity and keeps the inspiration flowing.
Assessing Your Space and Needs
Before rushing into organizing, it’s crucial to assess the current state of your craft room. Take a moment and consider what you have. Measure your space. Think about the types of projects you enjoy most. Are you a fabric aficionado with rolls of materials piled in the corner, or a mixed media artist with a plethora of supplies scattered everywhere?
Evaluating your needs helps you pinpoint what kinds of storage solutions will suit your style best. Does your room have ample natural light? Or is it more of a cave? Understanding how you use your space will guide the way you store your materials. Make a list of the supplies you use most often, and keep accessibility in mind.
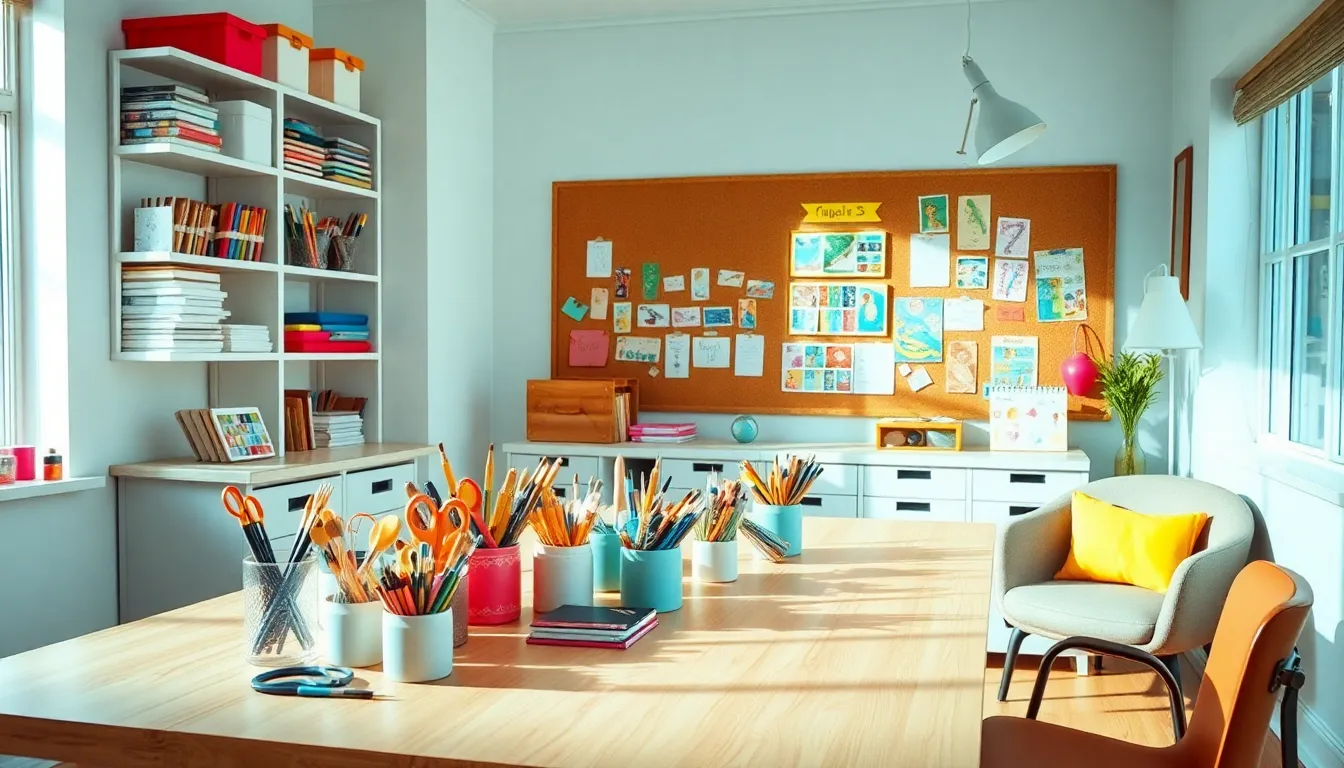
Storage Solutions For Craft Supplies
Now, let’s jump into storage solutions that will change your life.
Creating Functional Work Areas
Consider creating specific work areas tailored to different types of crafts. For example, if you love sewing, dedicate one corner with a sturdy table, a good chair, and storage for fabric and tools. If painting is your passion, create a drop cloth area where paints and brushes reign supreme. Functionality is key here, each area should be designed to meet the unique demands of your favorite craft without overlapping or turning into a clutter magnet.
Using Vertical Space Effectively
Don’t forget about those walls. Vertical storage solutions like pegboards, hanging baskets, and shelving units maximize your space while keeping supplies visible. Pegboards are excellent for hanging scissors, threads, and tools for easy access. Floating shelves can hold jars filled with buttons, embellishments, or paintbrushes. Think of your wall space as an opportunity rather than a limitation. Using vertical space not only clears up your workspace but also adds a decorative aspect to your craft room.
Incorporating Multi-Functional Furniture
Why settle for plain old storage when you can have multi-functional furniture? Investing in furniture that serves dual purposes can save space and elevate your craft room’s organization.
Consider a table that can store supplies underneath or a craft cart with wheels for easy mobility. Ottomans or benches with storage are perfect for stowing away supplies while adding a cozy seating option. Look for cabinets or tables that come with adjustable shelving so you can change configurations as your crafting needs evolve. The right furniture can blend seamlessly into your space while doubling as clever storage.
Labeling And Categorizing Supplies
Once you have your storage solutions in place, it’s time for the fun part: labeling. Categorizing supplies not only keeps things organized but also makes it easier to find what you need.
Start with broad categories like ‘paints,’ ‘tools,’ ‘papers,’ or ‘fabrics,’ then break it down further if needed. Use clear bins or containers for visibility and stick labels on everything, yes, even that collection of buttons. You could invest in a label maker, or go the DIY route with fun stickers or markers. The key is to make it visually appealing while ensuring it’s practical. A well-labeled craft room feels more manageable and less daunting.
Maintaining Organization Over Time
Creating an organized craft room is one thing, but maintaining that order is where many crafters struggle. Setting up systems can help you keep things in check. Make it a habit to tidy up your space after each session. Dedicate a few minutes at the end of your crafting time to put supplies back in their rightful places.
Consider scheduling quarterly organization days. These check-ins allow you to reevaluate your needs, discard supplies that no longer serve you, and rearrange where necessary. Remember, crafting is meant to be enjoyable, so keeping the space organized should feel less like a chore and more like part of the creative process.